
Last weekend I made a fabric covered binder for a school project, and it turned out looking nice, so I thought I'd share how to do it. I used an old binder I had laying around and some fabric that I think was originally a table runner or something like that. I picked it up at a swap meet because I thought it was pretty, but I had it for a while before I finally had a project I could use it for. First, here are some before pictures of the binder I had. Not very pretty:


Here's what I did:
- Lay your open binder on some fabric you want to use and cut around the binder, leaving room for a small overlap
- Make some Mod Podge if you don't have any. Do this by adding two parts glue to one part water. Mix together.
- Close the binder and cover the front with Mod Podge, then smooth the fabric onto the binder and secure with binder clips, paper clips, or bobby pins (I used all 3). Repeat on the back of the binder.
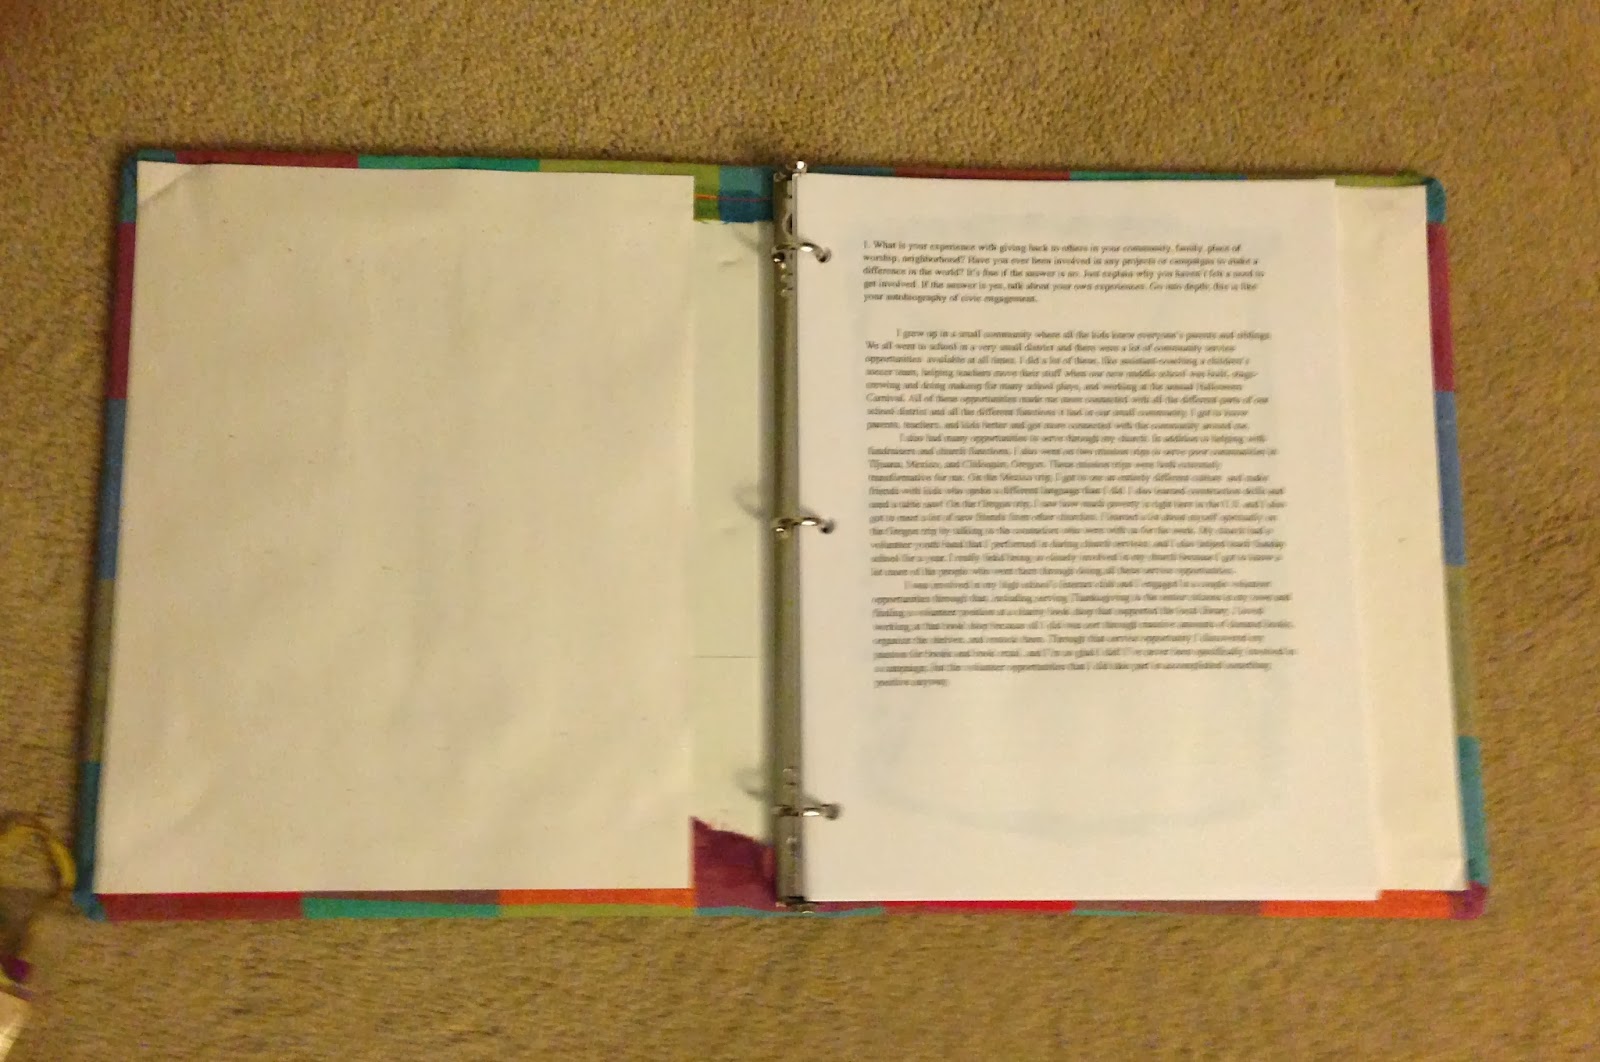
- Be sure to tuck your fabric under the metal part of the binder in the middle.
- Wait until the fabric is secure, then add cardstock or heavy paper on the inside of the binder to cover the rough edges. Glue down with Mod Podge and secure with clips.
- Yay! You're done!

I used this tutorial as my guide, and all the photos are very helpful, if you need more clarity.
After I was done, my binder looked like this:

So much better than before. I really liked this project because it was easy but it makes a big difference. I'll definitely be doing this one again!
Excellent DIY, your binder turned out lovely.
ReplyDelete♡ Dulce
lovely DIY ...
ReplyDeletexoxo
clarice
latesttrendfashion.com/