Showing posts with label How to. Show all posts

Tuesday, June 30, 2015

Vanilla Scented Sugar Scrub Recipe!


    It's a fine day to make a sugar scrub! As promised by my Instagram post this weekend, here's the recipe for a vanilla scented sugar scrub, as well as little note about why it's great to make your own! The recipe was adapted from Thank Your Body and the photo comes from The Novice Chef. Although this recipe is different from the one pictured, that is just about what mine looks like. One thing that's good to note is that this recipe is a scrub for sensitive skin, since that's what I have. If you have oily or acne-prone skin, try looking at recipes specifically for your skin type. Without further ado, here's the recipe:

Ingredients: 

1/2 cup brown sugar
1/2 cup granulated sugar
1/3 cup coconut oil (although avocado, olive, and almond oil also work)
2 Tbs honey
¼ tsp pure vanilla extract (you could also use 5 – 10 drops of your favorite essential oil)
Directions:
Mix all ingredients in a small bowl until well combined.
To use:
Apply the sugar scrub to your face, neck and throat. For this you won't need much, only a scoop that's a bit smaller than a golf ball. You might even want to use some on your hands to slough off dry or dead skin. Be careful not to scrub vigorously. Use a circular motion and work the scrub into your forehead, cheeks, chin and neck. Avoid the eye area completely. This skin is delicate and should never be exfoliated with a scrub.
Rinse the face using warm water and finish with a nice cool splash of water to close pores.
Of course you can use this scrub on your whole body, too. Always finish with a cool rinse and pat skin dry with a clean towel.

    Here's mine if you missed my Instagram post (@thosegoodvibes95). I put it in an old cookie dough tub and made my own label from graph paper, markers, and packing tape. I keep mine in the shower for an easy rinse-off. 
Why It's Great to Make Your Own:

    Store-bought exfoliating scrubs are not created equal. Some use tiny pieces of apricot pit or similar organic matter (a la St. Ives, every teenager's favorite) as their exfoliating component, while others (ahem, Olay and Biore for starters) use tiny plastic beads to get the job done. The problem with that is that those tiny plastic beads wind up as water and environmental pollutants, and are very hard to keep track of. On top of this, both types of exfoliants, organic and plastic particles alike, come in disposable plastic bottles or squeeze tubes. This generates unnecessary waste, especially when you can make your own, out of ingredients you probably already have, and put it in a reusable (or reused!) container.
    Need some more reasons to make your own? This stuff is awesome. It smells super good, leaves your skin very soft, and you know what's in it and that every ingredient is safe to use on your body! What more could you want? Happy scrubbing!
                                                                             Love,
                                                                                Madeleine

Friday, June 19, 2015

Why I Stopped Using Deodorant (And Made My Own Instead)


      Today we're going to talk about deodorant, and how I don't wear it any more. Yep. Now if you're thinking "yuck!", hang on a minute! There are three excellent reasons why I don't use deodorant, so hear me out:

1. Toxins. The first reason I don't wear deodorant anymore is because it contains three potentially toxic ingredients: parabens, aluminum, and propylene glycol. Applying parabens and aluminum to the underarm area has been identified by some doctors as leading to risk of breast cancer. Propylene glycol is thought to be safe in small doses, but it is a neurotoxin that can damage your kidneys and liver. I'm not interested in toxins entering my body whatsoever, whether they cause cancer or not.

2. Packaging waste. Do you see how much plastic is wasted in each of those push up canisters deodorants come in? Nuh-uh. I'm not about to buy something that's mostly plastic, just to send most of that money to a landfill.

3. Money. I'm a college student, and a smart, frugal individual. I could buy natural deodorants that don't use toxic ingredients, but these cost more money than generic brands. Almost any way that I can save money, I will. Which is how I discovered a much more cost-effective solution….


You Can Make Your Own Deodorant!! 

    There are many recipes out there, but my personal favorite was introduced to me by one of my students this year. It only requires four ingredients (coconut oil, baking soda, cornstarch, and essential oils) and it smells and feels delightful on my skin. I also love the fact that I can make a huge batch all at once and put it in a reusable jar to decrease packaging waste! Plus, I love knowing exactly what is in the things I'm putting on my body and skin.

     Another alternative is to simply stop wearing deodorant! I've heard it takes 30 days before your body regulates and stops needing deodorant to keep from being smelly. Whether this is true or not, I went without deodorant for over two months, and I don't think anyone noticed (or at least they were all too polite to say something).

    I encourage you all to try experimenting with your deodorant regimen. Who knows, maybe you don't even need it? I hope this little piece of advice helps you all lead happier, healthier, and more sustainable lives. Happy experimenting!
                                                                               Love,
                                                                                   Madeleine

P.S. If you want more on this topic, I found this guy's experimentations with deodorant to be pretty entertaining, and useful!

Photos: mine, 2 (this link sends you to a wonderful tumblr archive of DIY deodorant recipes, just in case you want to look at other recipes!)

Thursday, April 9, 2015

How I've Avoided Buying New Clothes For More Than A Year


Hello friends! Today is part two of my series on the why and how of avoiding the purchase of new clothing. I'm going to illustrate several strategies I've employed to avoid new clothes while still looking sharp. Here we go!

1. Shop at thrift stores and consignment shops! 
     Thrift shops are honestly the best place you could ever dream of to buy clothing. Seriously, have you seen my thrift haul videos? Treasure troves. There's a lot to sift through, but the things I find at thrift stores are (a unique, (b priced well, c) wonderfully sustainable and non-exploitative, and d) generally very good quality clothing! I wear a lot of clothes that are older than me, and the reason they made it that long is usually because they are very well made pieces, much better than what you usually buy at malls. Consignment and secondhand stores can be a bit pricier but have fewer things to sift through and are better organized. One I can recommend is Plato's Closet. They're all over the U.S. and I get all my jeans from there!

2. Shop at flea markets and church events!
      There are flea markets in my town that happen at least once a month, I believe. However, my best kept secret is a church flea market that happens in my town every year. During the last hour of the flea market, everything goes on sale for a dollar per bag of stuff. Last year I took home four paper grocery bags full of clothing for four bucks! Seek out events like these. They are great resources! 

3. Shop online or on apps!
       If you're looking for specific items, one of the best places to look is eBay. Lots of nice secondhand stuff can be found on that website. There are also a couple apps which allow you to sell your old clothes and buy or trade for other users old clothes, including an app called Vinted. Additionally, there are a couple websites like Twice that allow you to sell used clothes and buy those of others! Also, shop on Etsy! There are so many great vintage finds and handmade pieces, plus that money you spend supports a small business, aka real people who aren't exploiting anyone! Some of my favorite shops are OH-ZIE, Nube Menta, DoppelStandard, and of course my own, Good Vibrations Vintage!  All are excellent alternatives that allow you to find nice quality clothes without creating an economic demand for new ones. 

4. Host and attend clothing swaps! 
     I wrote an article a while ago about hosting a swap meet. In my town they are fairly common events. Always be on the lookout and try to attend them if you need some clothes. Most are free if you bring something to trade! They are also super fun to host and great excuses to bring together family and friends. 

5. Shop your friends' and relatives' closets!
   Trade with your friends and family! Or just take stuff for free! Half of my wardrobe used to belong to my mom. Not kidding. Many of my clothes have also been given to me by friends who didn't need them anymore, including all of my bras! My friend and her housemates keep a big giveaway pile of stuff they don't want in their living room so that people are free to look through it any time. We do the same thing at my parent's house. Many people have clothes skulking in their closets that they don't need or don't want. Just ask! 

6. Look for free bins at stores and public places!
     Just like many places have free or exchanged based library bookshelves, there are also free bins with all sorts of things. There's a food co-op  here on campus that has one, and today I found a beautiful red velvety skirt in there! Look around, they're closer than you think, and free!

7. Participate in clothing giveaways and contests!
    Sometimes I host giveaways here on this blog, and I am definitely not the only one. While participating in giveaways is not the most reliable source of clothes, it is free, and fun. Google "clothing giveaways" and see what you get. 

8. DIY your clothes 
    Try mending your clothes instead of throwing them out when they rip. I have so many clothes I have mended or patched. It saves money, adds character, and builds your crafting skills. Next on my list is learning how to darn my socks! You can also DIY to add flair to your clothing. I know a lot of people who sew patches onto denim jackets or jeans to make a statement. I often take clothes in or reshape them entirely to get the look I want. The plethora of DIY tutorials on the internet is endless, just for t-shirts alone. I learned how to both take in and let out the waistband of pants on YouTube. The resources are out there. Try it, it's fun! 

      So, that's how I've avoided buying new clothes for more than a year! The amount of resources available to you is staggering once you investigate, and I completely left out borrowing and renting based solutions (which are also worth looking into)! Bottom line: now that you know why and how, there is no reason why you can't support sustainability and social justice by joining forces with me and refusing to buy new clothes! So jump on in, the water's fine! See you at the thrift shop ;)

photos: 1, 2

Monday, February 23, 2015

Guest Post: DIY Crystal Circlet from Viva La DIY!!!


Hey everyone! Today I am so so excited to feature this awesome guest post tutorial on how to make a crystal circlet, made by Jazmin from Viva La DIY! Read on and create awesomeness with her!

Hello all, it’s me Jazmin of Viva La DIY!
If you’re anything like me, you are constantly finding inspiration for DIY projects everywhere! One thing I have been really marveled by recently are crowns and circlets. These beauts are exquisite yet pricey. So when I discovered just how expensive they are, I knew that I would DIY my own version.
I really enjoyed how my circlet turned out. I can really feel the female energy from the stones!
Amazonite (also known as green feldspar) is considered to have many healing properties, such as relieving headaches, has a calming effect and helps with mood swings. Amazonite is also believed to possess a female energy.
Rose quartz is believed to help relieve pain and considered to strengthen friendships and relationships because it opens the mind to beautiful things.
First, explore various types of styles and designs to consider. While preparing I looked at many different styles including Elvin, Medieval, Bohemian, and Steampunk. I wanted it to look nature inspired but, not too avant-garde. So I finally decided I wanted something simplistic with an Elvin/Bohemian aesthetic.
This is just what I choose. You are free to follow these techniques along with your own design. It is completely up to you, choose what is best for you and your budget.
Materials:
  • Measuring tape
  • 20 gauge wire
  • 12 gauge wire
  • Wire cutters
  • Needle nose pliers
  • Other jewelry pliers are a plus (My husband wraps stones so I used some of his tools.)
  • Crystal beads and stones (I used real amazonite and rose quartz, but plastic ones are fine.)


Step 1:
Measure your head and add 2 inches.
(My head measures 22 inches, plus 2 for total length of 24 inches.)
Step 2:
Cut your 12 gauge wire equal to the total length of this measurement. Repeat for a total of 4 pieces.
Step 3:
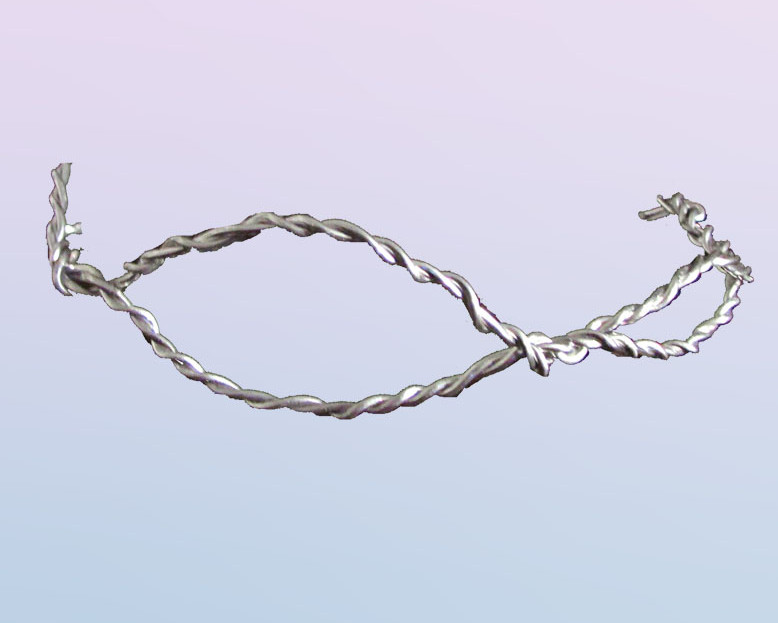
Take 2 pieces of wire and intertwine them together by holding the ends and twist like a candy wrapper. Repeat for a second strand.


Step 4:
Take both strands and twist them 2 inches from the end.


Step 5:
Make your first loop approximately 1 inch from where you left off. Use your thumb to hold between the loop and twist twice to secure in place.


Step 6:
Similarly, make second loop approximately 2 inches in length.


Step 7:
Continue to make a third loop approximately 3/4 of an inch in length.


Step 8:
Now make a fourth loop of about 3 inches in length.


Note: To preserve symmetry, subsequently repeat the loop sequence.
Step 9:
Respectively repeat step 7, 6, and  5. Then twist the remaining wire and fold  over the ends so that no sharp wire sticks out.


Step 10:
Twine the largest center front loop strands around themselves until taut.
Again, I used my thumb to twist the wire like a candy wrapper.


Note: Reference Make a Tiara, Threadbanger Project to learn how to play with the beads and make interesting shapes.
Step 11:
Thread your bead(s) with 12 gauge wire.


Step 12:
Wrap any loose stones with 20 gauge wire.
Note: Since rough cut stones are easier to wrap than polished stones, I recommend using rough cut stones for beginners.


Step 13:
Secure your bead(s) and stones in place as you find aesthetically pleasing.


Step 14: Add any final touches and you are finished.


Have fun, hope you have a blast making your own!
Links:
Thanks again to Dulce and Jazmin for this awesome DIY tutorial. I really encourage you guys to peruse their links above and check them out; they are truly inspiring!
Happy circlet-making!!

Wednesday, February 26, 2014

DIY Fabric Covered Binders


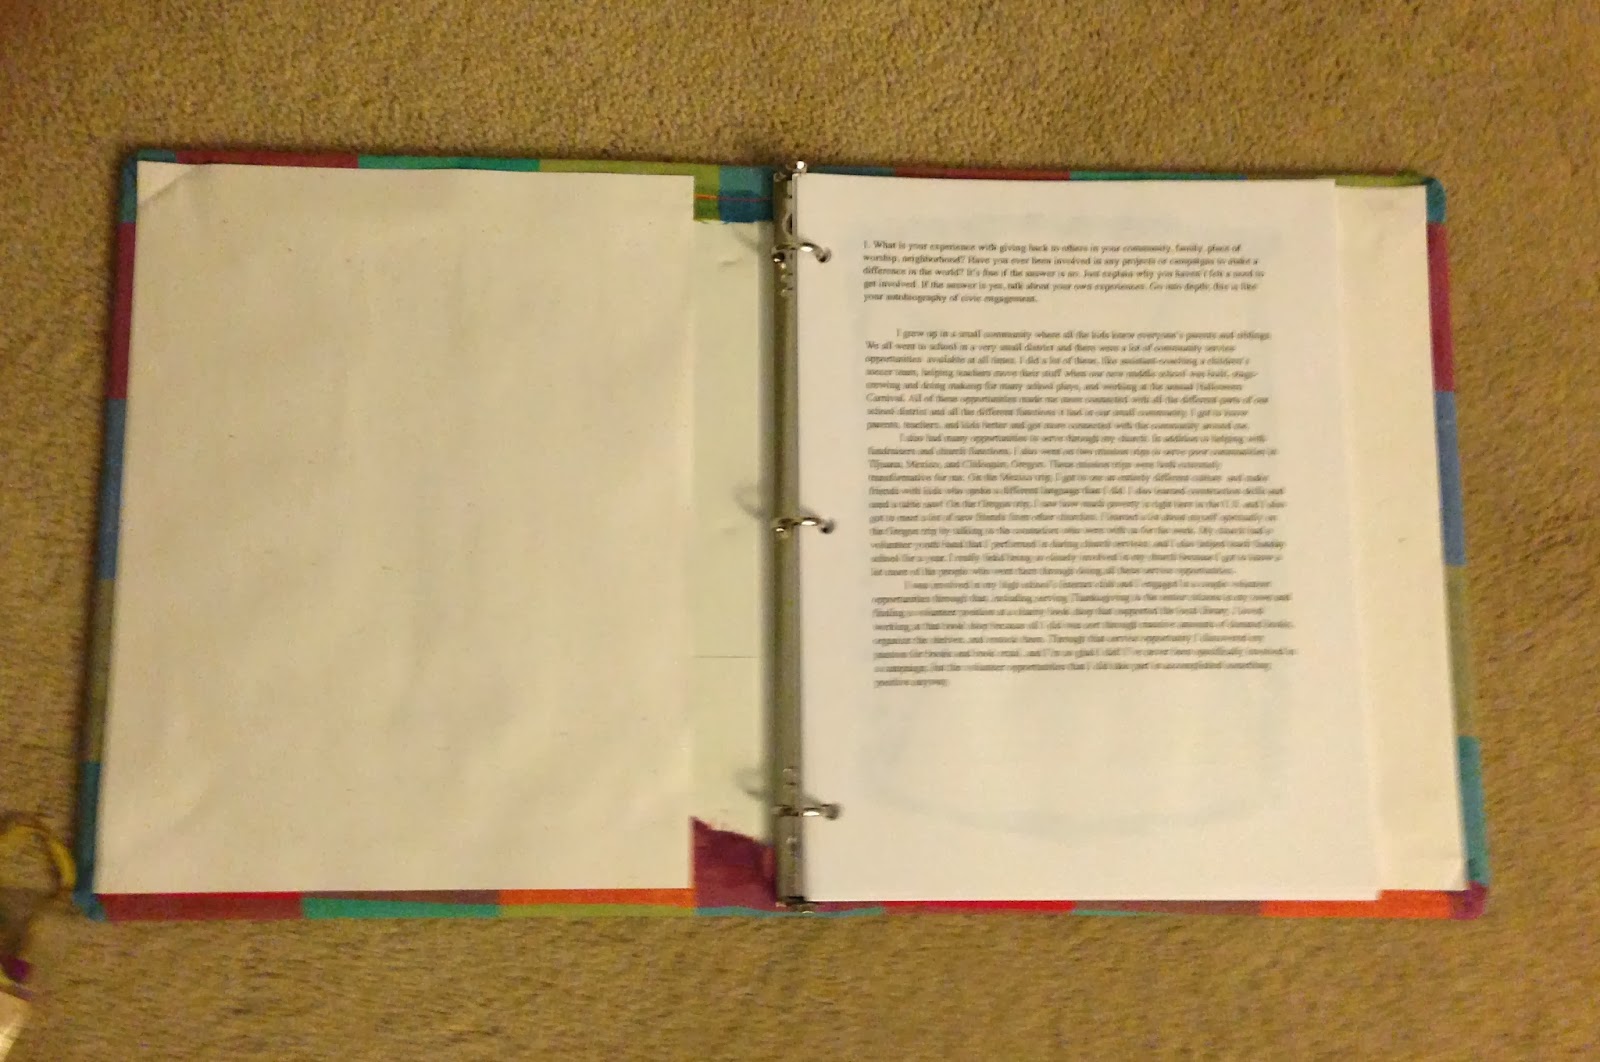
Last weekend I made a fabric covered binder for a school project, and it turned out looking nice, so I thought I'd share how to do it. I used an old binder I had laying around and some fabric that I think was originally a table runner or something like that. I picked it up at a swap meet because I thought it was pretty, but I had it for a while before I finally had a project I could use it for. First, here are some before pictures of the binder I had. Not very pretty:


Here's what I did:

  1. Lay your open binder on some fabric you want to use and cut around the binder, leaving room for a small overlap
  2. Make some Mod Podge if you don't have any. Do this by adding two parts glue to one part water. Mix together. 
  3. Close the binder and cover the front with Mod Podge, then smooth the fabric onto the binder and secure with binder clips, paper clips, or bobby pins (I used all 3). Repeat on the back of the binder. 
  4. Be sure to tuck your fabric under the metal part of the binder in the middle. 
  5. Wait until the fabric is secure, then add cardstock or heavy paper on the inside of the binder to cover the rough edges. Glue down with Mod Podge and secure with clips. 
  6. Yay! You're done!

I used this tutorial as my guide, and all the photos are very helpful, if you need more clarity.
After I was done, my binder looked like this:


So much better than before. I really liked this project because it was easy but it makes a big difference. I'll definitely be doing this one again!


Monday, September 30, 2013

On Making Friends

This is a movie about friendship, you can watch the little trailer here. It's cute :)

Today we are going to talk about making friends. I'm sure many of you out there are now starting a new school year if you haven't already, or maybe you've started a new job, joined an organization, whatever. In any of these cases, unless you are a complete loner, you will probably start wanting to make connections with people. 
Here are some tips on how to to just that:

- Be friendly

      Often when people are giving advice on how to make friends, they say "be yourself," and while this is excellent advice, it is a good idea to try to be the friendliest version of yourself. Think about how you feel in new social settings. You're probably a little nervous, and maybe kind of awkward. This is how everyone else feels too. If you're friendly, people will feel a little more at ease around you. 

- Initiate Conversations

      Sometimes in new social settings, people feel awkward and ask themselves "Why isn't anyone talking to me?", and that's where you come in! Don't be afraid to go up and talk to people, about anything. They will really appreciate the conversation and you'll make them feel important.

- Rock It

       When you are in a new social situation, turn up your confidence to the highest degree you can manage. This will definitely help you make friends. People are attracted to others who seem at ease. Try to be friendly and kind, not intimidating or obnoxious. You can do it :)

Good luck, find lots of new buddies!

Friday, June 21, 2013

Thrift Haul Video!


Hey everyone! Today I did something new and posted a Thrift Haul Video. The purpose of the video is to (a show you guys some of what's in my closet, (b inspire you to thrift shop, and (c give a couple tips.  This is probably the first time I've ever posted anything you can hear my voice in, so now you guys know what I sound like! For some reason the audio got a little off in the middle of the video, just to warn you guys, it gets a little annoying. 
I probably won't have another one of these to post for a while, since this is what has accumulated over the last two years. I just don't go shopping very often and when I do, I usually only pick up one or two things. 
Anyways, I really hope you guys enjoy the video, I had a really fun time making it!! If you guys want to see anything else, like a room tour, or my other clothes, or whatever, then feel free to request a video!

Thursday, August 23, 2012

Improve Your Wardrobe!

Elle Ribera from Opium Poppies
 The other day I was going through all my clothes and I noticed that I had a lot stuff that I had bought fairly recently. I went through my closet and discovered that about 75% of my clothes were bought or otherwise acquired within the last year. That's crazy! That basically means that my style completely changed - and my wardrobe along with it. These changes were definitely for the better, and I basically overhauled my wardrobe to contain a bunch of stuff that I love, without even knowing it.
Would you like to overhaul your wardrobe? Good, 'cause that's what this post's about!
Here are some tips: 

via Pinterest
 When you are shopping, buy what you love. This may sound exceedingly simple, but trust me, it can be tough to let yourself spend money on certain clothes because you're afraid of what other people will think if you wear them. A super important part of improving your wardrobe is to let your true style show through. Then when you are shopping, you can allow yourself to buy whatever you want. Acquiring lots of clothes that you is a key part of improving your wardrobe.

Once you have bought what you love, you will have lots of clothes. It's time to let some of them go. Cull your closet of all the things that your new, more stylish clothing has taken priority over. If you haven't worn something in a long time, if it's ugly, ill-fitting, or just not your thing, get rid of it. This can take up to a day, depending on how many clothes you have, but get it done, it's worth it. Once you've decided what you don't want, you can donate to Goodwill or host a swap party!

via Pinterest

Track your style. Although you have a great, new and improved wardrobe, that doesn't mean your style won't change. I find that it's really helpful to take outfit pictures and keep track of what tastes I'm leaning towards through my Lookbook account. By doing this, you can learn what to look for next time you go shopping that you will enjoy the most after purchasing, and you can also learn what to dispose of based on what styles you're growing away from. 

Look for what you will like in a variety of places. When I was 14, the only store I really shopped at was Forever 21, and while that store is good, it doesn't give you quite the variety you need for a good wardrobe. Good places to look for clothes and accessories that I like are: ASOS, Urban Outfitters (they're pricey though), and eBay. I also get a lot of my clothes at thrift stores and local swap meets, and I trade with my friends and DIY shorts and t-shirts. If you get creative, you can whip a wardrobe you love out of anything! 

A lot of my previous articles relate to the things I've discussed here, so I suggest looking at On Being Yourself, Host A Swap Meet!, and How to Keep Only What You Love! A Lesson in Organization

Friday, August 10, 2012

Love List: DIY Edition

Hi there! It's been forever since I did a Love List, so here is my first one in a very long while. Today's love list is composed entirely of DIYs that have been tried and tested by me, so you know they're good. Some of them you may have already seen featured here before, others, maybe not. 
Well, here you go!
The tissue paper flower tutorial I used to build my own poppy tutorial was immensely fun and well-written.

After learning to make hair bows with this tutorial, I have made about 50 (they're so fun!).

In sophomore year I made my own lunch bag, as well as a few for some of my friends using this tutorial.
Having never made a friendship bracelet before, I was extremely excited to find this super easy tutorial. 

I also learned how to the blanket stitch using this set of instructions. 

Learning the blanket stitch then helped me create these super cute mittens!
Last year for my Halloween costume I stitched myself a cape (I was Red Riding Hood). It turned out really cool, thanks to this tutorial
I made my very own flower crown using my friend Jennifer's tutorial!

And finally, I made lip balm from Vaseline and Kool-Aid with this tutorial. 
I think I might do a post where I share what my DIYs look like after using these tutorials. 
If you do any of these, feel free to share!
Happy crafting, my friends!
Edit: This is my 50th post on Good Vibrations. Yay! 

Sunday, July 22, 2012

How to Make Tissue Paper Poppies and Mini Blooms


Ever since I found this tutorial on Rust and Sunshine via craftgawker, I have been absolutely obsessed with making tissue paper flowers. I have made over 10, but my favorite one to make is a poppy, which is different from the one shown in tutorial. The red and yellow flower above is my favorite that I have made. Wanna know how to make 'em? Here's how!

Supplies: 
Tissue paper
Pipe cleaners
Scissors

1. First, cut the tissue paper into 10 inch squares. 1 flower needs 6 or more squares of tissue paper. 
2. Now take 2 sheets of the color that you want the stamen to be (the middle part of the poppy, ex. the yellow part in the one above) and fold into and accordion shape about 1 inch wide. Just make sure it is significantly thinner than the other part of the flower. You can make the stamen shorter by trimming off a few inches of the strip of paper, which I did with the red and yellow poppy. Next, make small cuts into the two ends of the strip so that they are fringey.

3. Now take the 4 sheets you will use for the petals and fold them into an accordion shape that is at least an inch wider than the stamen. Cut the edges of the strip so that they are rounded as shown above.

4. Unfold the two strips and lay the stamen on top of the petals. Now begin to fold the two along the wide folds of the petals, not the thin ones of the stamen. When finished, the 6 sheets should form one strip, with the stamen sheets inside the petal sheets. 

5. Choose a pipe cleaner for the stem and fold it over the strip, then wrap it around itself to secure. Make sure that the stamen is pointing up so that it will be on the inside of the flower. 

6. Now fan out one side of the strip. Fluff up each of the sheets one at a time. Continue with the other side. When finished, the flower will look like the picture on the right. Enjoy the prettiness!

You can also make mini flowers like these. For the one on the left, the edges were cut into a point. For the one on the right, the edges were rounded, like those of the poppy petals. 
1. Using 6 smaller squares (mine were 5 inches), fold them into a small accordion shape and cut the edges into the desired shape.
2. Wrap a pipe cleaner around the strip. 
3. Fan out the flower and fluff the petals both down and up to form a spherical shape. I recommend working in from the sheets on the top and bottom. 

Done! Now enjoy!

As you can see, I decorated my lamp with all my creations, although I have also given some to friends. I'll do a dorm tour soon so you can see the rest of my space :)
Happy flower making!